| « Westridge Project Grabs Pasadena Weekly's Green Issue Front Page! | On the Ground - Installing Solar at Westridge - Part 3 » |
On the Roof - Installing Solar at Westridge - Part 4
05/04/12
Categories: Commercial Solar, Non-profit solar, Westridge PAC Project
On the Roof - Installing Solar at Westridge - Part 4
Our first three installments saw us secure our rebate reservation, successfully pull our permits, and deal with a host of challenges on the ground. But now the real fun starts - in this episode we will document the heart and soul of this project, “Up on the Roof!”
Projection
Solar projects actually begin on a computer screen as the designer tries to map what is known about the roof, the utility service, and the client’s needs into a coherent proposal. As the project progresses through the rebate and permitting processes, that design is refined - and as we have seen, sometimes altered. But the trick of any implementation is to go from the designer’s plan to an actual system on the roof - starting with getting the attachments in place.
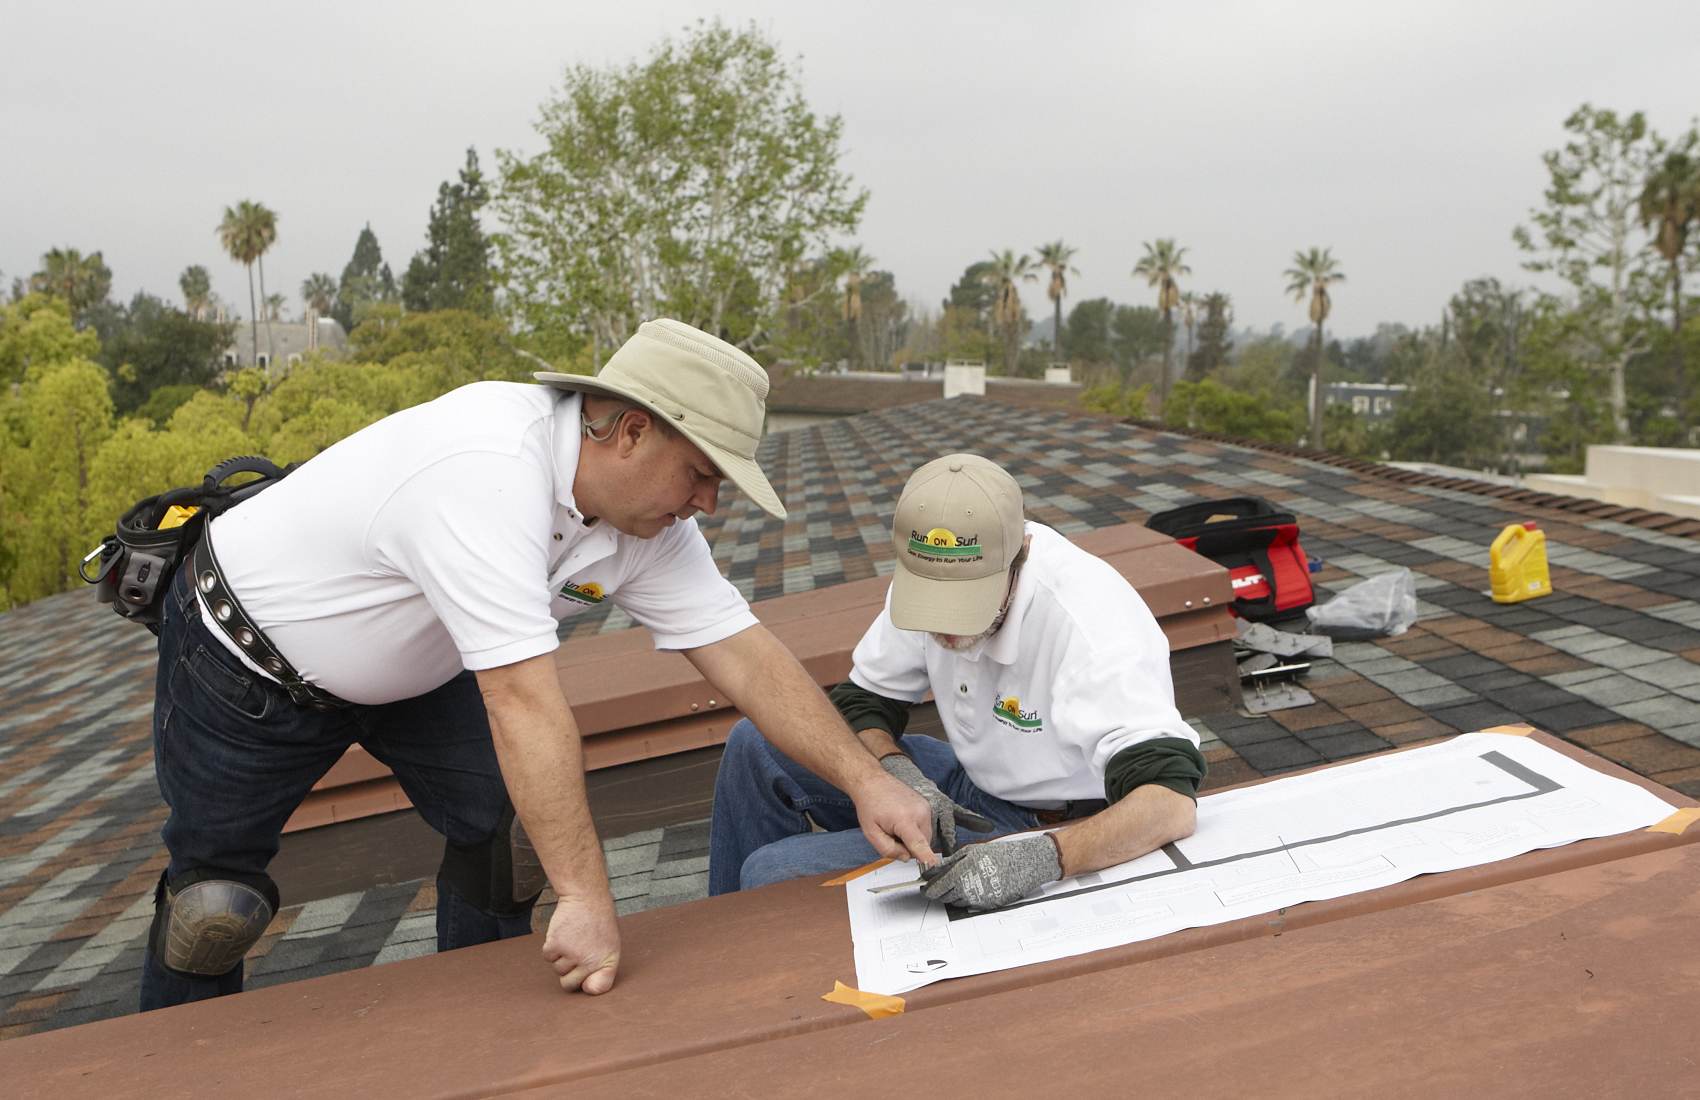 Nearly ancient methods, tape measures and chalk lines, are the essential tools in this process. Since a solar array is essentially a grid, the trick is to project what is on the plans into a corresponding grid on the roof. Precision and accuracy are the key to making this work, but roofs are notoriously inconsistent places! What seemed to be square, isn’t always. What appeared to be flat, actually has its own peaks and valleys. While our projection onto the roof proved easy enough, we were about to discover that what you see - or were told - isn’t always what you get!
There’s What You Plan and What You Get
Our biggest design challenge had been the need to account for the somewhat unusual roof construction that we had to accommodate. In particular, our underlying roof structure was a 20 gauge, type B steel deck, overlayed with multiple layers of plywood, foam insulation and roofing materials. Given the thickness of those layers we had determined that we would need to use four, 8-inch-long, self-tapping screws to secure our “FastFoot” anchors to the roof. We had purchased hundreds of those screws - along with a top-of-the-line Hilti cordless driver - to do the job. But something wasn’t right.
As we started making our first few attachments it was clear that not all of them were reaching the steel deck! Apparently in some places the actual thickness from the roof to the deck exceeded the 8″ reach of the screws. Visual inspection from a scissors lift inside the building confirmed what we suspected - clearly not all of the screws were penetrating the deck, yet in other places, all four screws penetrated without difficulty. There was only one solution to the problem of our inconsistent roof - longer screws!
Fortunately, we were able to order some 9″ screws from the manufacturer - the longest that they made. They did the trick - now we could be certain that every FastFoot plate was properly secured.
Lean on Me
The changes to our plans imposed during the permitting process meant that we were very tight on space. At the top of our array we had to install 3 sub-panels, each of which had to handle three branch circuits that made up that sub-array. Our original plan was to build a triangular cross brace out of unistrut to support the sub-panels.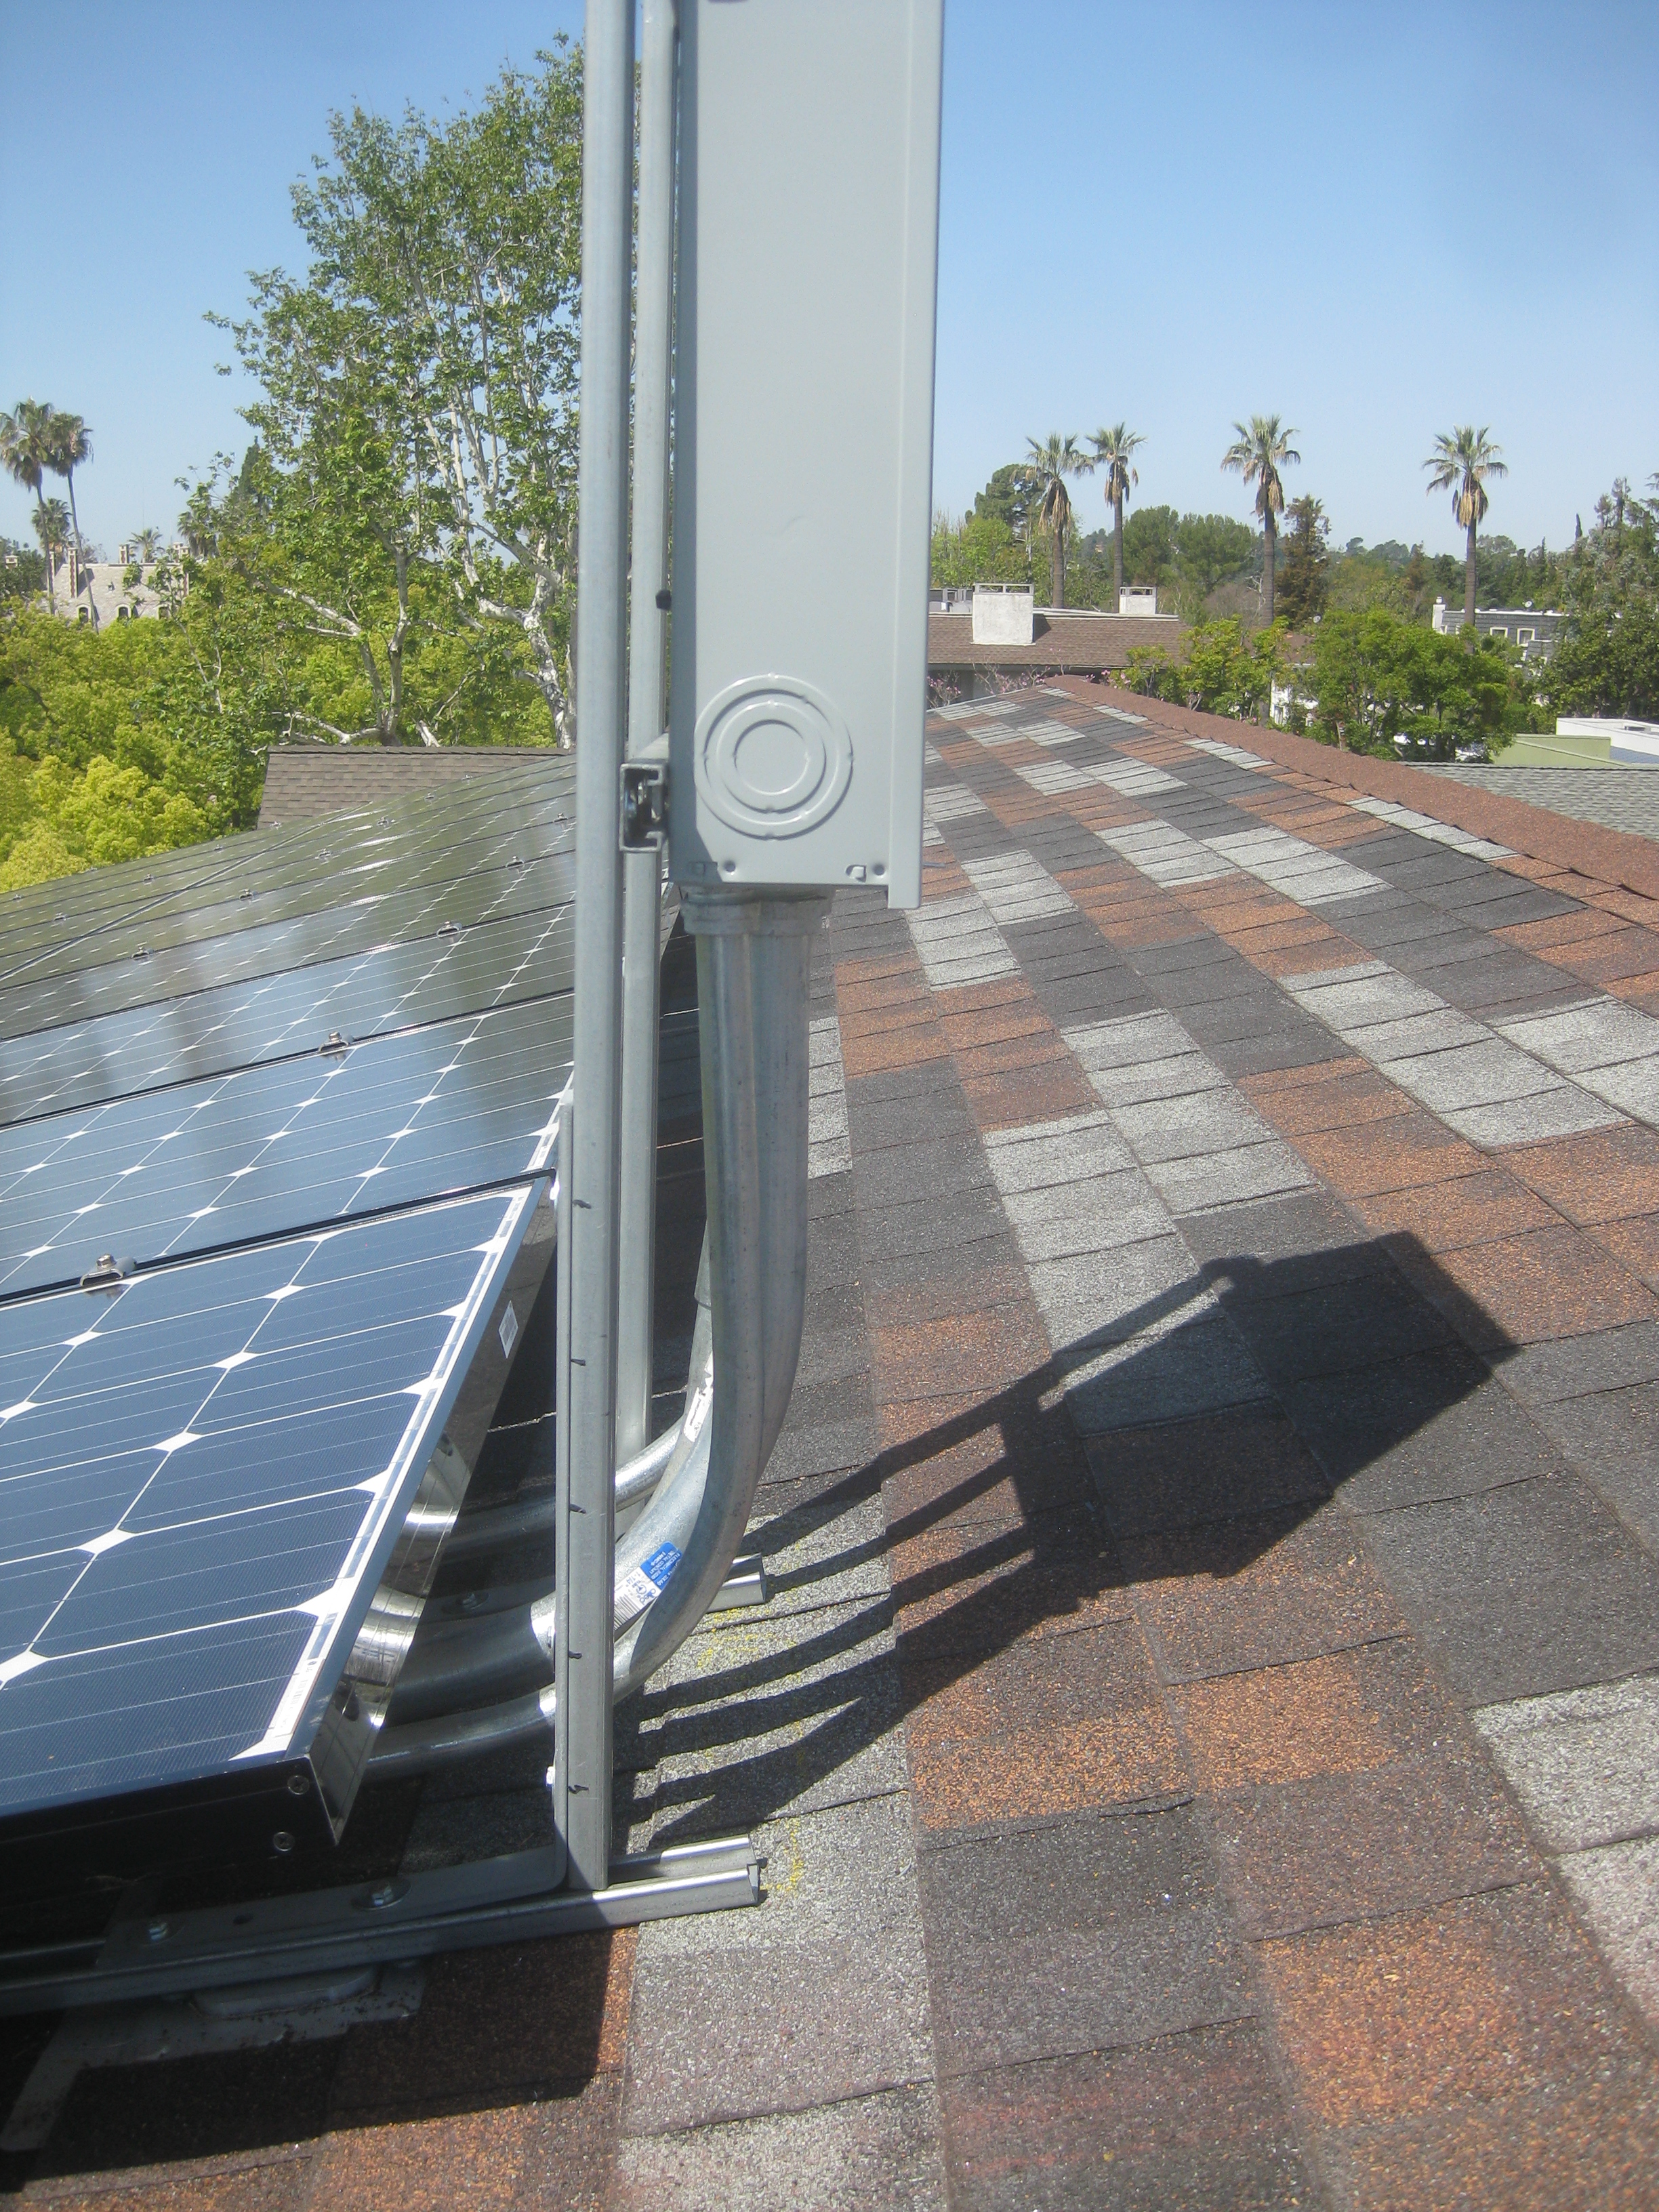 Unfortunately, given our close quarters, the solar panels needed to come right up to the supports for the sub-panels - a cross-brace system would take up too much space.
Instead, we designed a set of steel braces that were bent at precisely the angle that we needed - 103° - to allow our sub-panels to be perfectly vertical on our 13° sloped roof. The design was easy, but could we get them fabricated fast enough to keep the project on track? We knew of a small metal shop near our offices and we took the design to them - yes, they said, they could produce the six parts that we needed for $100 and they would have them in the morning - would that be soon enough?!!!
This turned out to be a very elegant solution to our problem. Using two FastFoot anchors, we attached unistrut to them and then bolted our braces to that. When combined with the rigid conduit feeding the sub-panel, we ended up with a very solid solution.
Next problem!
Need a Lift?
The roof of our building was reachable by a series of three ladders traversing three different roof levels. 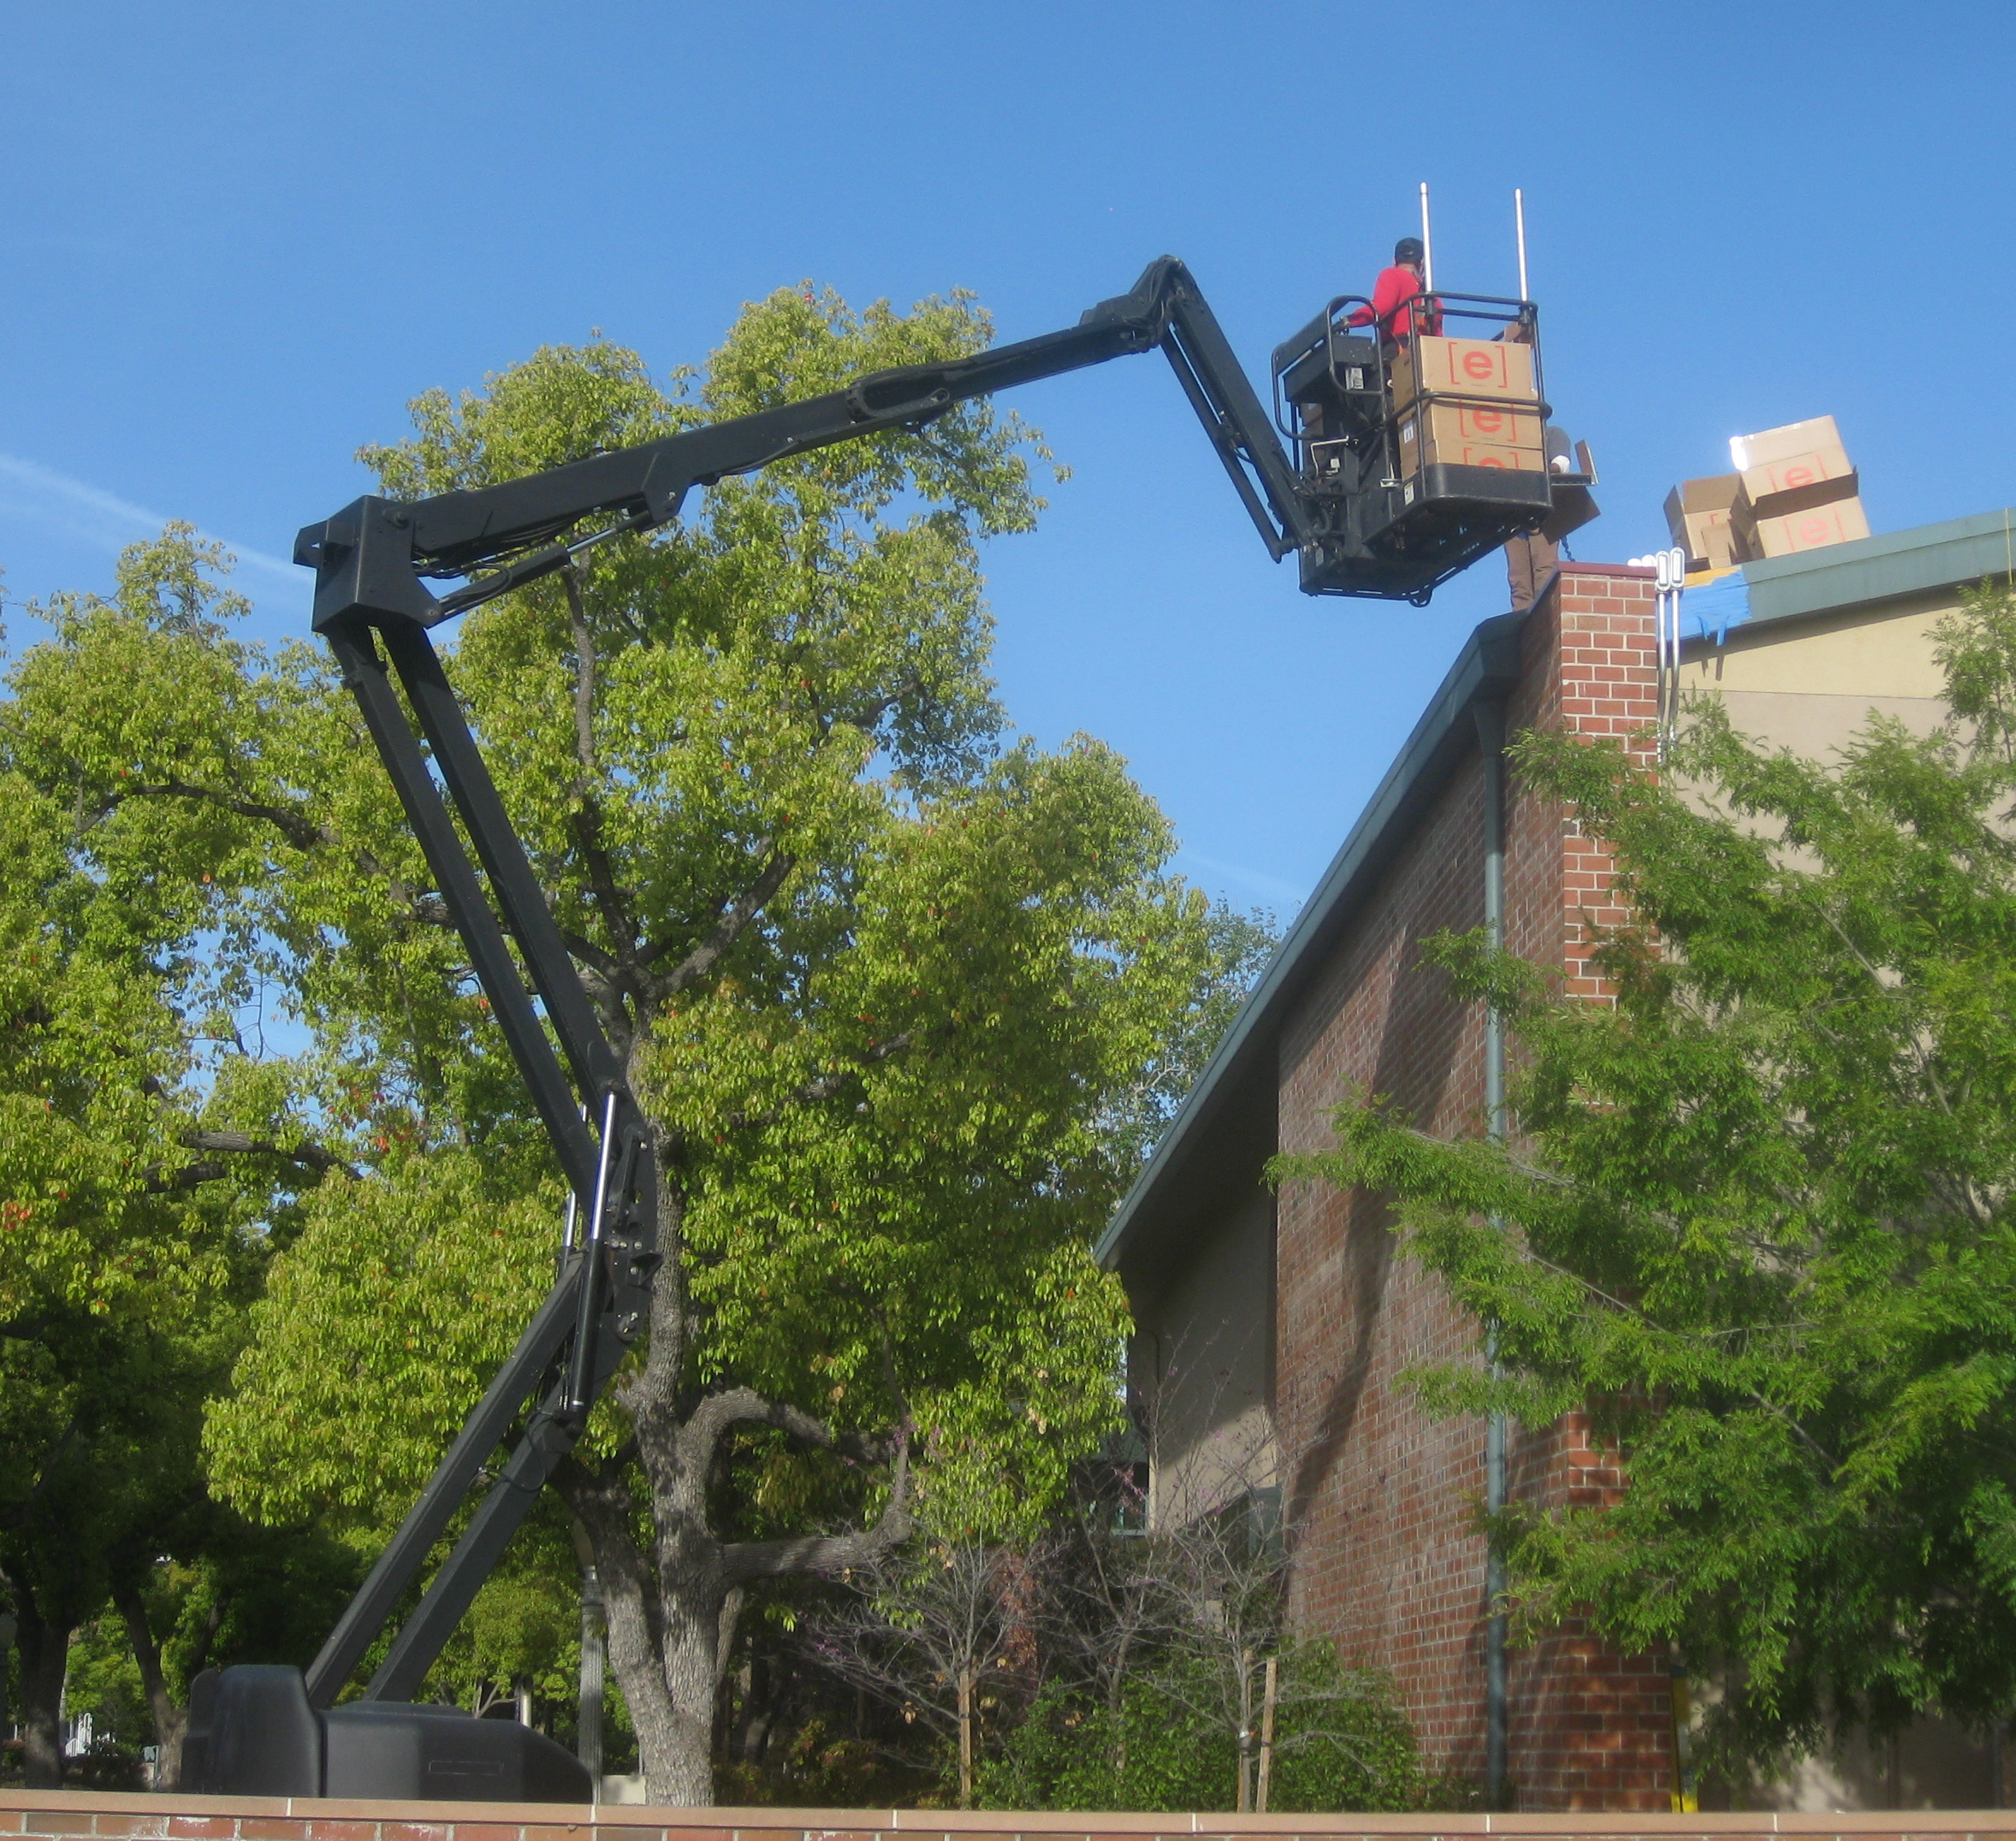 While this was acceptable for getting personnel to and from the roof, it would never work for transporting hundreds of feet of rails, to say nothing of 209 solar panels!
Enter the boom lift - the same one that was unceremoniously dropped off for us by parking it under a No Parking sign!
Whether transporting rails, solar panels, or the Enphase micro-inverters as you see in this picture, the boom lift provided us with an efficient means of moving large amounts of gear up to our work site on the roof. Operating a device that articulates in multiple dimensions in relatively tight quarters takes skill and great attention to detail. (It also makes for some pretty cool looking photos!)
Connect the Dots
Once the rails were installed, the Enphase micro-inverters could be mounted and the process of running a continuous ground wire and the creation of the Enphase map could begin.

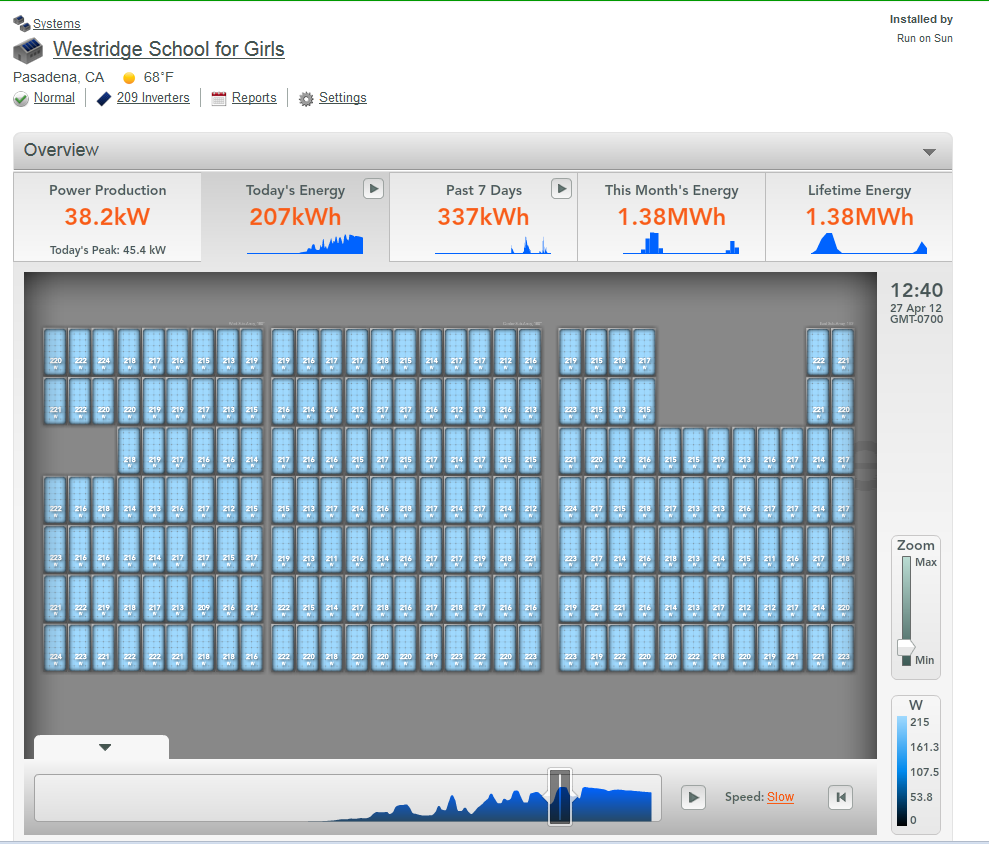
Since this was an Enphase system, we would be able to monitor the performance of the array down to the individual solar panel/micro-inverter pair. (Indeed, this monitoring ability was a key selling point for the system to the school as it nicely meshed with the school’s educational mission - more on that in our upcoming video!) Each micro-inverter has a serial number that was carefully peeled off and affixed to a “map” that showed where each inverter was located on the roof. As part of the commissioning process, we transferred the map data onto the Enphase website and built a true representation of how the system was laid out on the roof.
Now all we needed was to install the solar panels themselves!
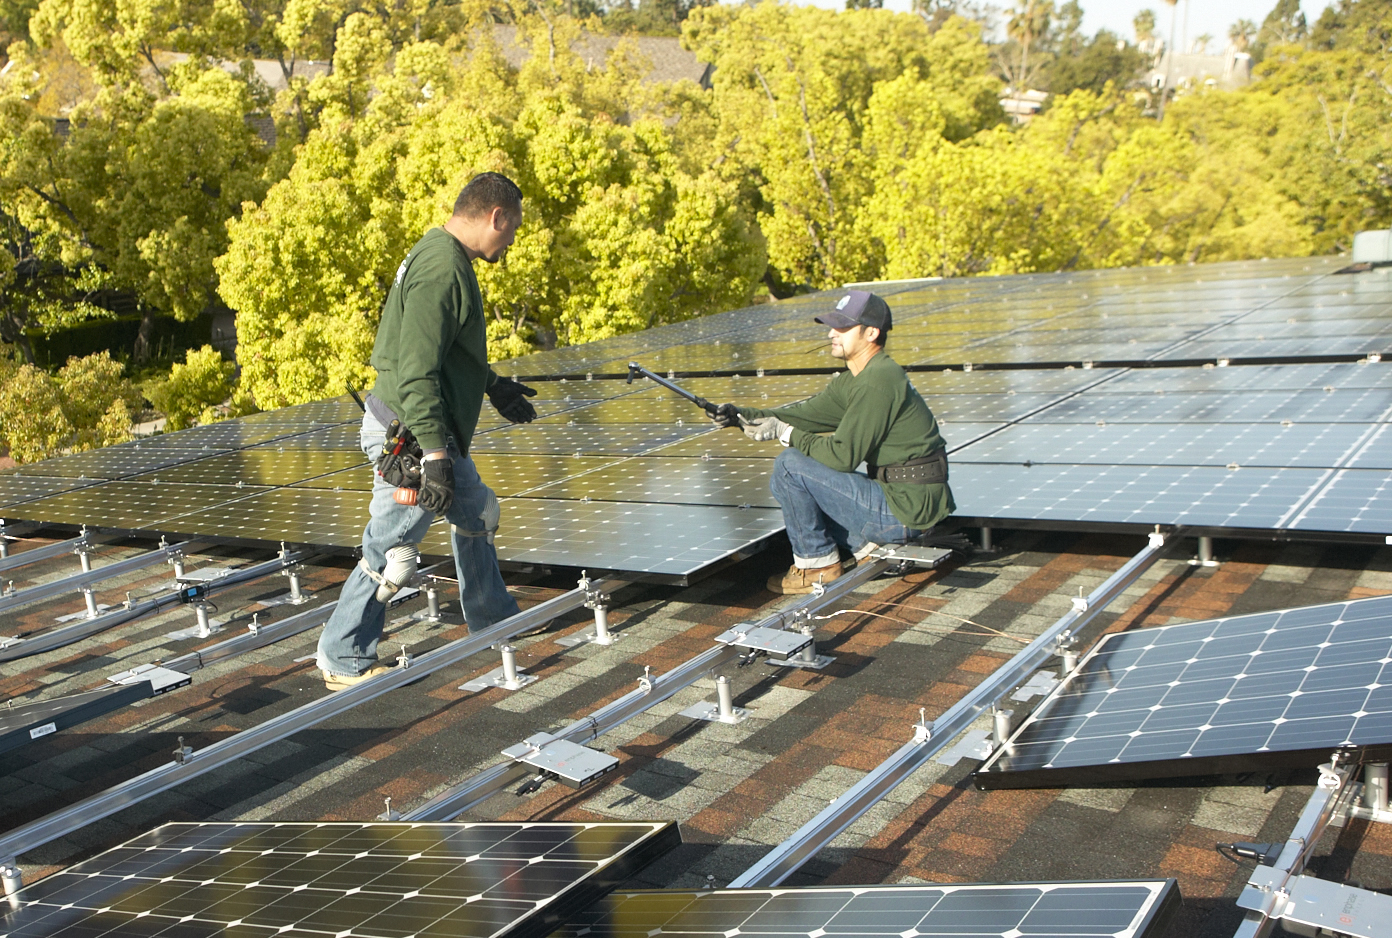
Careful attention to detail during this last step is rewarded with an array that aligns precisely and fits as planned. Using the Enphase Envoy and a laptop computer, we could verify that each and every panel was properly connected and functioning as expected. We could be confident that there would be no surprises that would need to be resolved later!
That gave us one last task for the boom lift - finished photographs. Here’s our favorite:

Three inspections later - fire, building & safety, and PWP - and we were ready to officially go live. Here’s how the system appeared on the Enphase Enlighten website one recent sunny day:
The students at Westridge will be able to analyze the performance of this system for years to come, providing a first hand experience of how renewable energy works and can make a difference in our lives - what a great lesson to learn!
Chapter the Last
Which brings us to the end of this series - almost. In our final installment you will see the video that we have produced for this project and you will hear from the Head of Westridge School, Elizabeth McGregor, Facilities Director Brian Williams, and three wonderful students talk about how this project plays into the larger mission of the school. You won’t want to miss it!
No feedback yet
Form is loading...